

Image Manager
The Image Manager is where the images you use in your emails live. Version 8.8.0 replaces the old third-party file browser with a built-in one, used everywhere an editor asks you to choose an image.
Getting there
There are two ways in:
- From an editor, by clicking the Insert Image button while writing an email. This is the usual way, and it opens straight onto the images belonging to whatever you are editing.
- On its own, from Email campaigns → Image Manager in the navigation bar. This opens your personal gallery, which is the right place to upload images you intend to reuse.
Two places images are kept
Every image belongs to one of two places, and the Image Manager shows you one at a time.
| Location | What it holds |
|---|---|
| This campaign (or This autoresponder, This template, This form) | Images you uploaded while editing that particular item. They travel with it: copy the campaign and its images are copied too, delete it and they go with it. |
| My images | Your personal gallery, available to everything you create. |
When you open the Image Manager from inside an editor it starts on the item you are editing, since that is usually where you want to be. Use the toggle to switch to My images and back. Whichever you are viewing is the one that uploading, renaming, deleting, sorting and paging act on.
Inserting an image
- In the editor, place your cursor where the image should go and click the Insert Image button.
- The Image Manager opens. Pick the location you want with the toggle, or upload a new image.
- Click the image you want. It is inserted at your cursor and the window closes.
Uploading images
- Click Upload Images….
- Choose one or more image files from your computer. Selecting a file makes another field available, so you can queue up several in one go.
- The images upload and appear in the grid.
A file is rejected if it is not a valid image, or if an image of the same name is already there — rename it on your computer and upload it again. The largest file you can upload is set by your administrator under Settings → Email settings.
Managing images
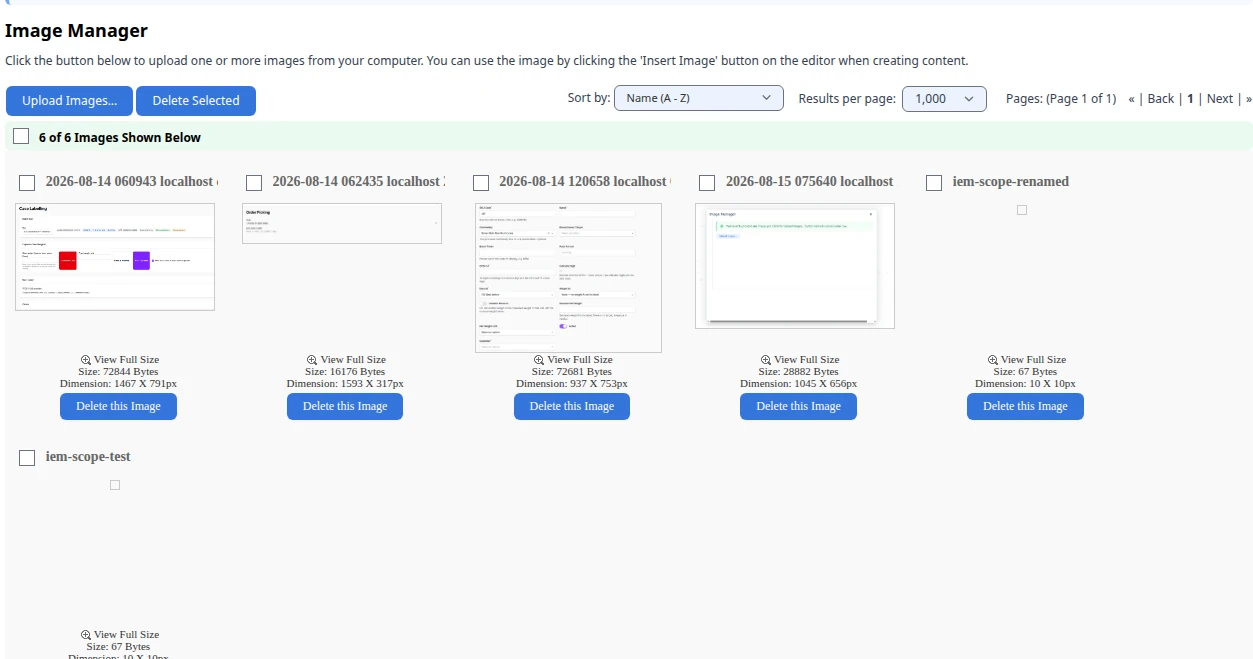
The grid gives you, for each image, its name, file size and dimensions.
- View full size — click the image to open it at its original size.
- Rename — give the image a clearer name. Names must be valid filenames.
- Delete — remove a single image with the delete icon, or tick several and click Delete Selected.
- Sort by — name, file size or date modified, ascending or descending.
- Show images per page — page through a large gallery, or show them all at once.
Which images you can see
You only ever see images that belong to you: your own gallery, and content you own or have been given permission to edit. If you do not have access to an item, the Image Manager opens your own gallery instead.