This is a walkthrough for a first-time sender: create a list, add contacts, prepare a basic campaign, and send it. For recurring or operational work such as segments, schedules, testing, delivery options, and troubleshooting, see Sending Email Campaigns.
Step 1. Create your contact list
A contact list holds the people you will email—at minimum an email address, plus any optional fields you add later (such as name or country). When you send a campaign, you send it to a list.
Open Contact Lists → Create a Contact List. Enter a list name and owner details, then save.

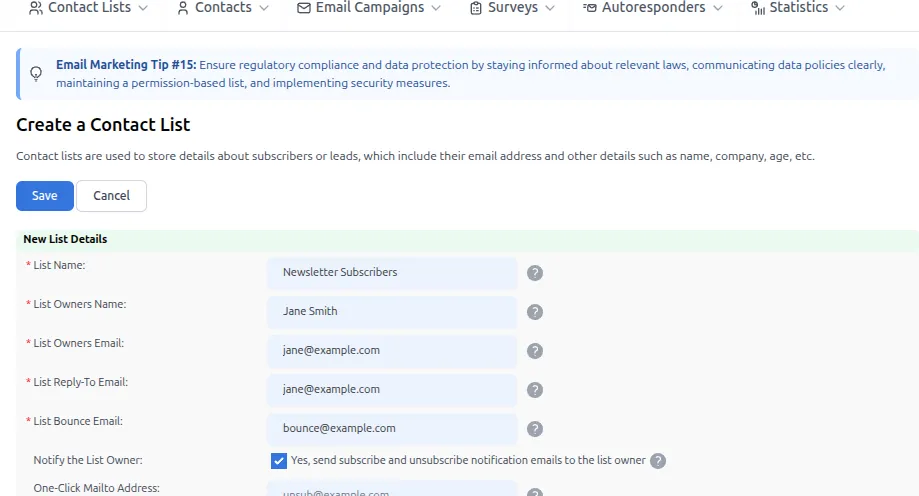
If a list may already exist, check Contact Lists → View Contact Lists first.
Step 2. Create custom fields (optional)
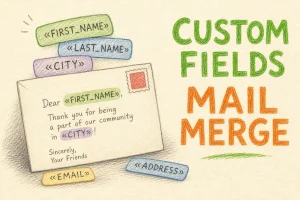
Custom fields store extra contact details (First Name, Last Name, and so on) that you can use in message content and on subscription forms. Create them before you build a website form so those fields appear on the form.
Open Contact Lists → View Custom Fields and add the fields you need.

Step 3. Add contacts
You need at least one contact before you can send. Use any of these methods.
Import from a file
Export contacts from your other tool as a CSV (comma-separated) file. Example rows:
[email protected],Inboxing Expert,Y,20230101
[email protected],Segmentation Master,Y,20231014
[email protected],Email Emperor,Y,20220706
Open Contacts → Import Contacts (import guide), choose the list, then continue through the wizard.


Browse to your CSV. If the first line is headers (EMAIL,TITLE,...), tick Yes, this file contains headers. Map each file column to a system field, then start the import. The final report shows how many contacts were imported and whether any rows failed.
Add a contact manually
For a few contacts, open Contacts → Add a Contact, choose the list, enter the email address and any custom-field values, then Save (or Save And Exit).


Add a subscription form to your website
To let visitors join the list themselves, create a subscription form and paste its HTML onto your site.
Open Website Forms → Create Form. Name the form, set Form Type to Subscription, then finish the wizard. On Manage Website Forms, use Get HTML and place that code on your site. Hover the help icons if a field is unclear.

Step 4. Create your email campaign
Open Email Campaigns → Create Email Campaign. Choose HTML, pick a built-in email template (use preview to compare designs), then continue.


Enter a short subject line, then write or paste the body in the WYSIWYG editor.

Include an unsubscribe link (the system warns you if it is missing). To personalize, use Insert Custom Fields—placeholders such as %%First Name%% are replaced from the contact list at send time.
Add attachments only if needed. Use Send Preview before Save And Exit.
Step 5. Send your email campaign
Open Email Campaigns → Send an Email Campaign. Select the contact list. For a first send, leave filtering options off unless you need them.

Choose the campaign, keep the default tracking and owner-notification options unless you have a reason to change them, then start sending.
When sending finishes, list owners typically receive a completion notice. If your administrator has set up scheduled sending, you can schedule later campaigns instead of sending immediately.
You have created and sent your first email campaign. For day-to-day sending, testing, and delivery options, continue with Sending Email Campaigns.