Interspire Email Marketer has a collection of built-in email templates that can be used for your email campaigns. However, Interspire Email Marketer is a flexible enough system that if you already have email templates or use email editors such as DragIt or Bee, it is easy to integrate those templates into your campaigns. Here is how.
Import Options
Templates can be imported either as a custom template or directly as a campaign. The first way is through the “Templates” link in the toolbar. This method would be used to import a template that will be used over and over again in different campaigns. The second is through the “Email Campaigns” tab in the navigation bar and will usually be used when a template is to be used immediately in a campaign.
The steps in importing a template through these two options are essentially the same but for a few details. The “Templates” link will let you go through the process of customizing, editing and saving your content and design for future use, while the “Email Campaigns” tab will go through the process of sending out an email campaign.
Importing as a Custom Template
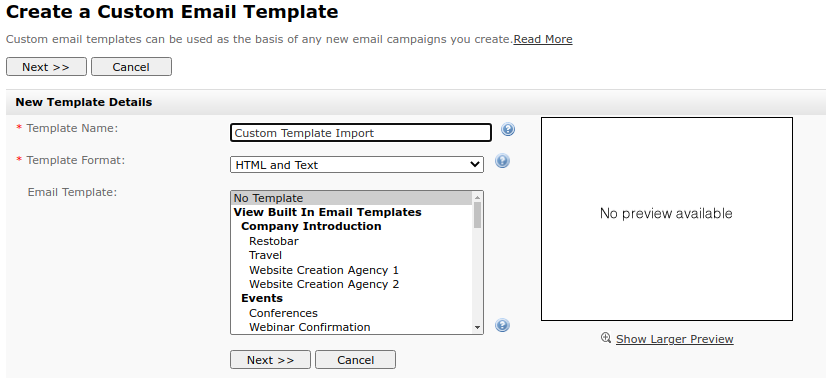
- Click on the “Templates” link in the toolbar and select “Create a Custom Template.”

- Enter the template name.
- When choosing the template format, it is recommended to select “HTML and Text”.
- Select the “No Template” option then click the “Next” button.
- Choose the “Upload a file from my computer” for your HTML content.
- Click “Choose File”, locate and select the file you want to import, and click “Open”. If the template is referencing external images, they will need to be added separately using the WYSIWYG editor.
- Click the “Upload” button to start importing. The imported template will now be displayed inside the WYSIWYG email editor. If necessary, edit its content before moving on to the next step.
- Update the text content as appropriate.
- Validate your email, and configure the miscellaneous options.
- Activate Template – tick this box if you want to mark it as active and use it to create email campaigns or autoresponders.
- Global Template – tick this box if you want all users to see it when creating an email campaign or autoresponders.
- Click the “Save” or “Save and Exit” button to save your newly created customized email template. Or click “Cancel” to exit without saving.
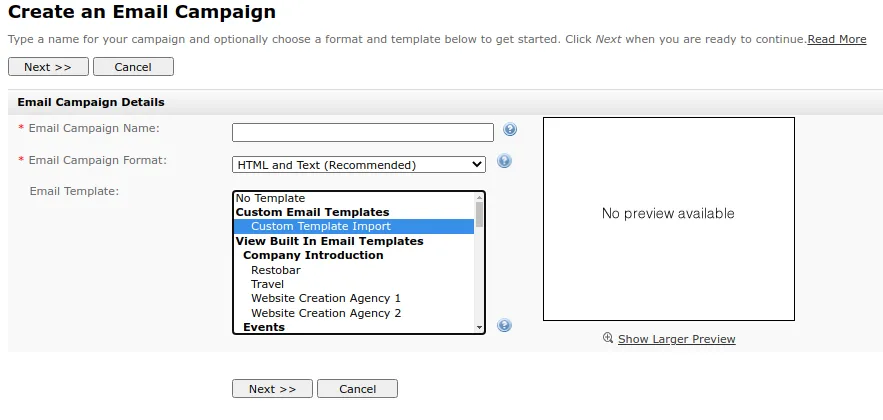
The template will now be listed as a Custom Email Templates. You can select it and use it as often as required when creating an email campaign:
Email Campaigns Tab
- Click the “Email Campaigns” tab and select “Create an Email Campaign”.

- Enter the email campaign name.
- Select “HTML and Text” for the email campaign format.
- Select the “No Template” option then click the “Next” button to start creating your email content.
- Enter the email subject.
- Choose the “Upload a file from my computer” for your HTML content.
- Click “Choose File”, locate and select the file you want to import, and click “Open”. Images will need to be uploaded separately.
- Click the “Upload” button to start importing. The imported template will now be displayed inside the WYSIWYG email editor.
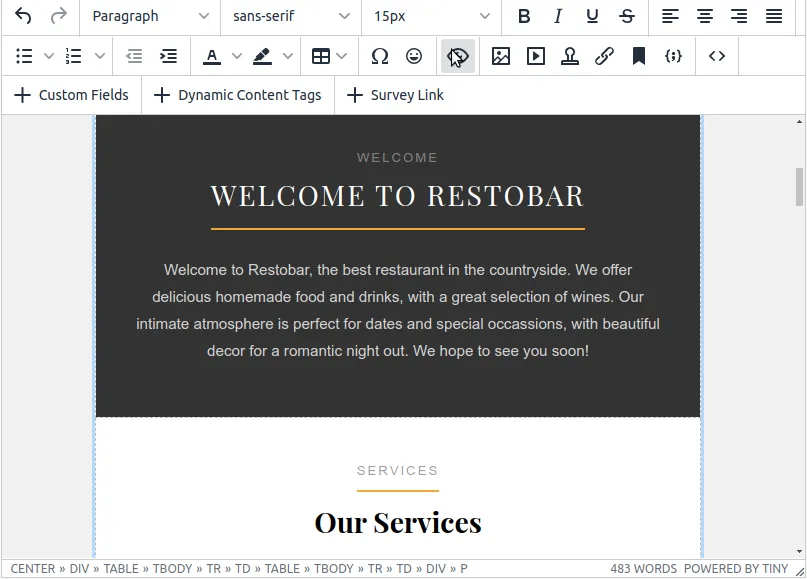
- Start editing the content of the template you have imported for your email campaign.
Before sending to your contact list, validate the email campaign and test it by sending it to your own email account.
Once everything is set and you were able to confirm the readiness of your email campaign, you are now ready to send it.
Importing custom email templates is an essential feature of email marketing automation tools. Interspire Email Marketer is no exception and allows you to easily import templates to be used in your email campaigns.